Step 2 – Orientate the map
The second step is learning how to orientate your map.
To orientate the map basically means that you turn the map until it aligns with the surrounding terrain.
Hold the map so that objects to your left also appears to the left on the map, objects to your right appears to the right on the map, and so forth. This makes it easier to both read the map and navigate the terrain.
You can also think of the map as a simplified aerial photo where houses, roads, trails, hills and cliffs are all marked, using different kinds of symbols.
The compass is a great compliment to the map, which enables you to navigate faster. The top part of the map equals the north. Align the compass (the red part of the needle always faces the north) with the map.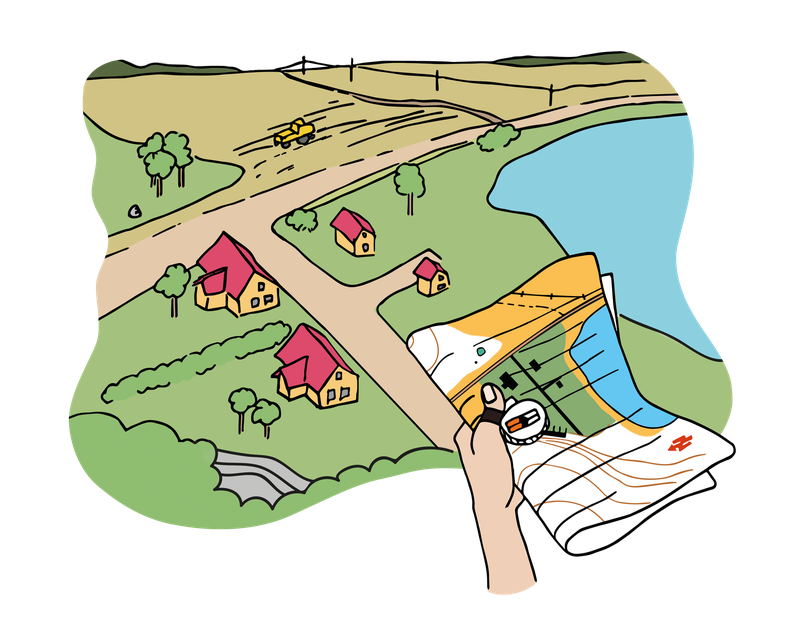
Skill tip: If you’re not sure how to read the map, familiarize yourself with it. Stand still and compare the map with your surroundings.